
As a service provider, how do you handle invoices? If you’re like many consultants, coaches, and advisors, you use separate tools to schedule meetings, manage contacts, and create and send invoices. Maybe you track payment status via a spreadsheet, or manually send follow-ups and reminders for outstanding invoices. Even when each tool works well on its own, juggling them all means extra admin work that takes up your valuable time.
Now, you can create, send, track, and get paid for invoices right from Calendly.
Use invoices to bill for completed sessions, project work, installment payments, or services that aren’t tied to a booked event. Clients get a professional invoice they can easily and securely pay via Stripe, while you collect and track payments from Calendly.
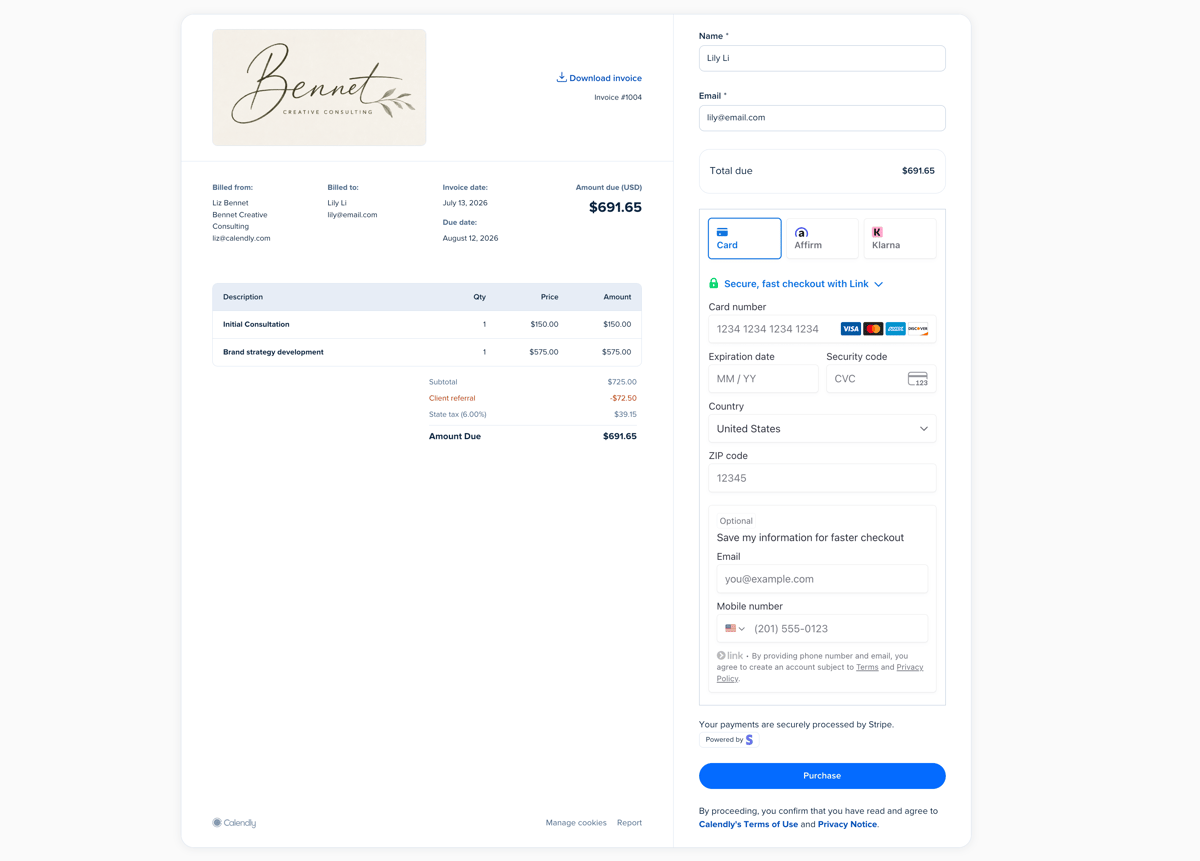
Invoices are available on all paid Calendly plans and require the Stripe integration.
How do Calendly invoices work?
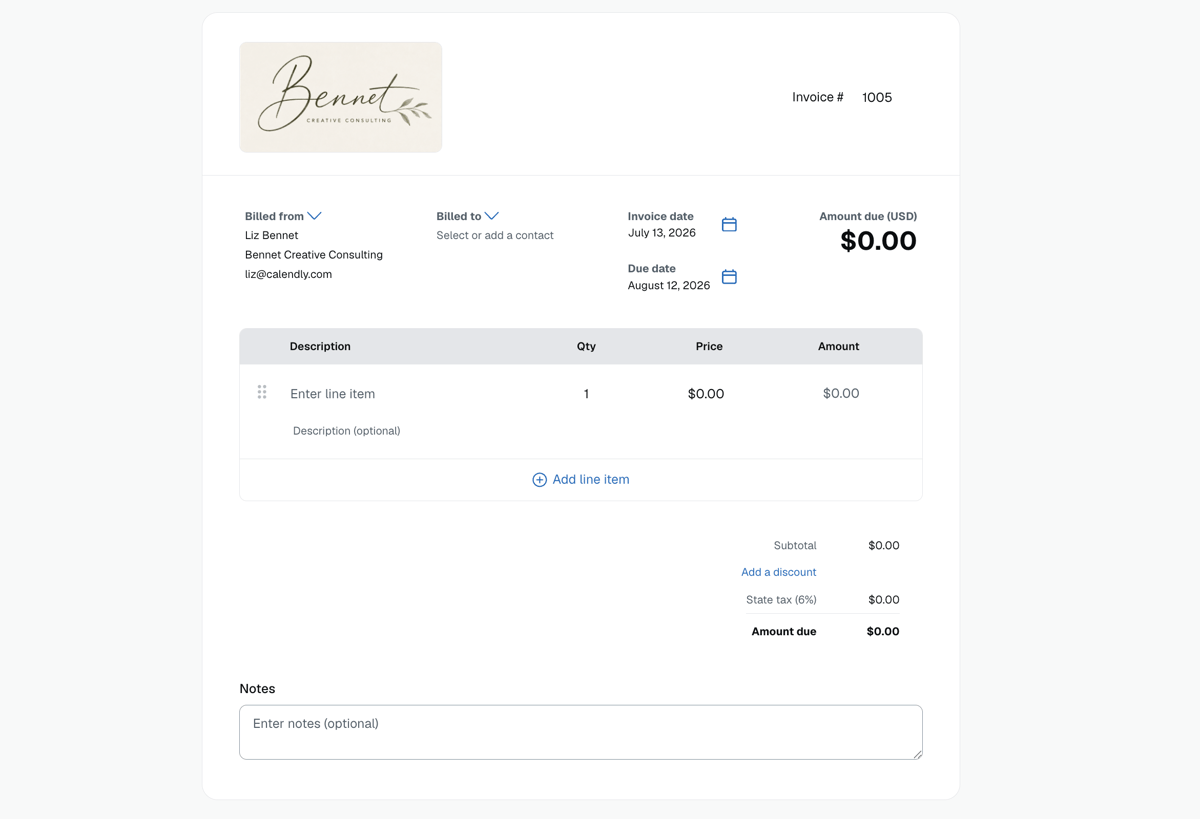
From the Payments space in Calendly, you can create branded, professional invoices that include your business details and give clients a clear record of what they’re paying for.
Your invoice can include:
- Your logo, business address, and contact details
- Your client’s contact details
- Invoice due date
- Itemized line items for sessions, deliverables, deposits, project work, or add-on services
- Taxes
- Discounts
- Notes to add additional context
You can also set up automatic email reminders for outstanding payments, so you don’t have to manually track and follow up on every invoice.
Once the invoice is ready, email it to a contact right from Calendly, or copy and paste a link directly to the invoice. Your client sees a hosted invoice page where they can review the details and pay securely through Stripe.
After an invoice is created, you can manage it from the Invoices tab. Invoice status updates in real time, so you can see whether an invoice has been sent, viewed, paid, or marked overdue. Resend, duplicate, preview, cancel, or delete invoices as needed.
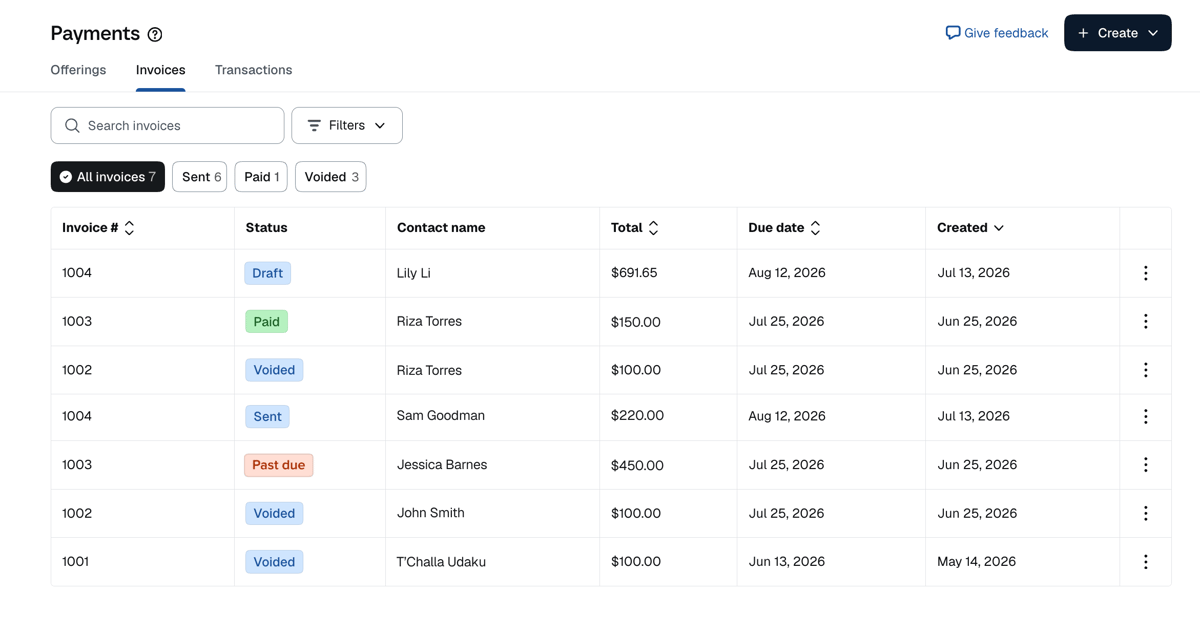
When a client pays, the transaction appears in the Transactions tab, so you see all of your payment activity in one place.
Ways to use Calendly invoices
Calendly invoices are useful when you need a formal payment request for your services, but the timing or details don’t fit neatly into upfront payment at booking.
Here are a few common ways to use invoices in Calendly.
Collect payment after a meeting
Use invoices when you want to meet first and collect payment later. This is helpful when the final amount depends on what was covered, the client needs to approve scope, or you bill after services are complete.
For example, you might use Calendly invoices if you’re:
- A coach who invoices clients after a strategy session
- A tutor who sends a monthly invoice for completed sessions
- An advisor who sends an invoice after a paid consultation
- An instructor who invoices after a private lesson or class
- A trainer who bills clients for sessions completed that week
Bill for project-based work
Use invoices when you need to charge for a project, deliverable, or service instead of a single scheduled appointment. The work might start with a consultation or kickoff call, but you’re billing for the project itself.
For example, you might invoice for:
- Creative services
- A business strategy project
- A website audit
- A brand design package
- A tax prep package
- A contract or document review
Invoice in installments
Use invoices when you’re breaking a larger project, package, or client engagement into smaller payments over time. Instead of collecting the full amount upfront or sending one invoice at the end, you can send separate invoices as each payment comes due.
For example, you might invoice for:
- A deposit before a project begins
- A milestone payment after the first deliverable
- A monthly payment for an ongoing consulting engagement
- A second payment after a draft, audit, or review is complete
- A final payment when the project wraps
Charge for one-off services, follow-up work, fees, or add-ons
Sometimes work comes up outside the initial scope of a project, or unrelated to a booked meeting. In many industries, your clients might still expect a formal, itemized invoice for one-off services, fees, or add-ons.
Pro tip
How to create an invoice in Calendly
Invoices are created and managed within the Payments tab in your Calendly account. If you haven’t done so already, you’ll need to connect your Stripe account to create an invoice.
Once you’re connected to Stripe, creating your first invoice takes just a few minutes:
- From the Payments tab, select Create > Invoice
- Enter your client’s name and email address or select a contact
- Add line items, including description, quantity, and price
- Set a due date
- (Optional) Add a tax rate, discount, business logo, notes, payment terms, and set email reminders
- Click Save draft or Send invoice to send instantly
Manage meetings and payments in one place
With Calendly’s invoice feature, you can create professional invoices, send them to clients, collect payment through Stripe, and track invoice status from the same platform you already use to schedule and manage client meetings.
Clients see a professional, itemized record of what they're being charged for. You stay organized — no jumping between tools, manually tracking payment status, or missing follow-ups. Easier payments for everyone? Now that’s a win-win.
P.S.: Invoices are just one way to get paid with Calendly. You can also:
- Add payments to your Calendly booking page to collect deposits or charge upfront for meetings
- Sell meeting packages so clients can purchase multiple sessions upfront and schedule them over time
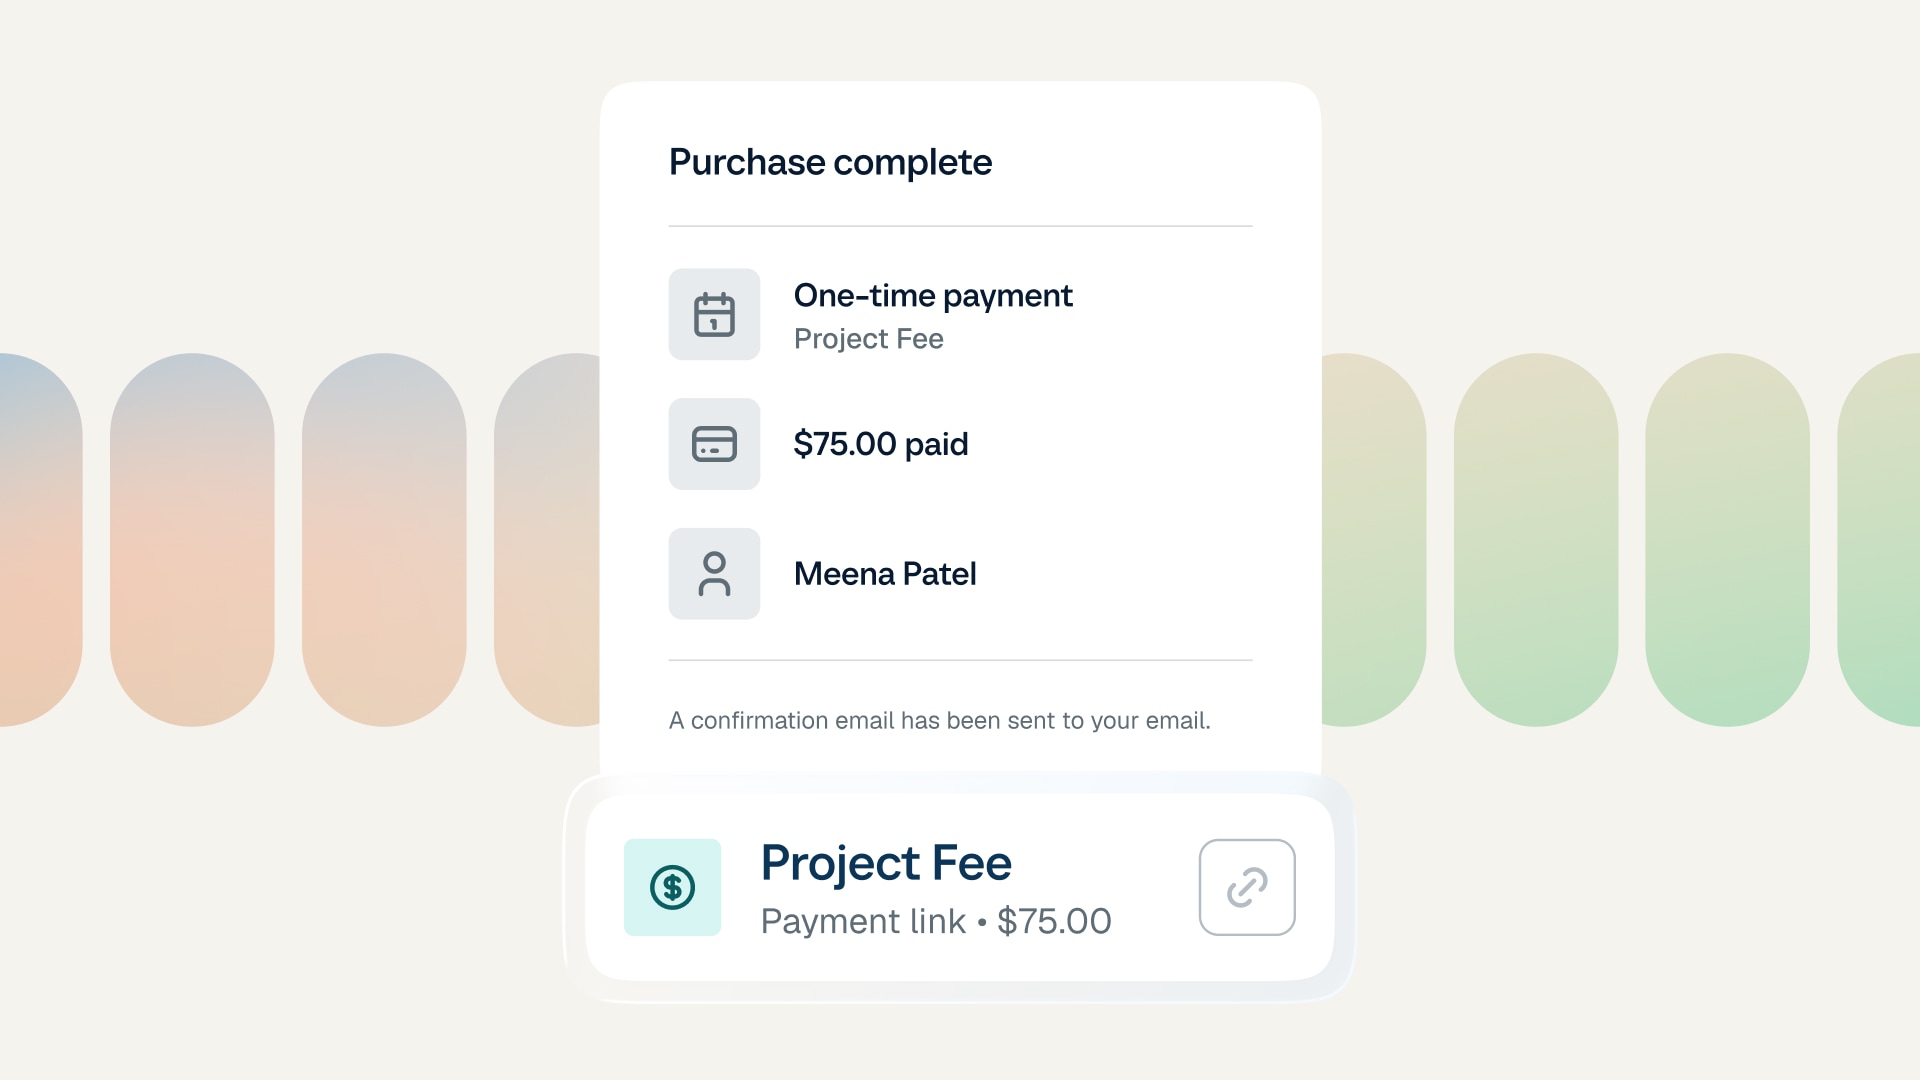
- Create a shareable payment link to request payment for anything, from a one-time fee to a project deposit
![[Blog hero image] best consulting tools](https://cdn.calendlycms.com/-Blog%20hero%20image-%20best%20consulting%20tools.png)